mirror of
https://github.com/crawlab-team/crawlab.git
synced 2026-01-22 17:31:03 +01:00
320 lines
14 KiB
Go
320 lines
14 KiB
Go
# Crawlab
|
||
|
||
<p>
|
||
<a href="https://hub.docker.com/r/tikazyq/crawlab/builds" target="_blank">
|
||
<img src="https://github.com/crawlab-team/crawlab/workflows/Docker/badge.svg">
|
||
</a>
|
||
<a href="https://hub.docker.com/r/tikazyq/crawlab" target="_blank">
|
||
<img src="https://img.shields.io/docker/pulls/tikazyq/crawlab?label=pulls&logo=docker">
|
||
</a>
|
||
<a href="https://github.com/crawlab-team/crawlab/releases" target="_blank">
|
||
<img src="https://img.shields.io/github/release/crawlab-team/crawlab.svg?logo=github">
|
||
</a>
|
||
<a href="https://github.com/crawlab-team/crawlab/commits/master" target="_blank">
|
||
<img src="https://img.shields.io/github/last-commit/crawlab-team/crawlab.svg">
|
||
</a>
|
||
<a href="https://github.com/crawlab-team/crawlab/issues?q=is%3Aissue+is%3Aopen+label%3Abug" target="_blank">
|
||
<img src="https://img.shields.io/github/issues/crawlab-team/crawlab/bug.svg?label=bugs&color=red">
|
||
</a>
|
||
<a href="https://github.com/crawlab-team/crawlab/issues?q=is%3Aissue+is%3Aopen+label%3Aenhancement" target="_blank">
|
||
<img src="https://img.shields.io/github/issues/crawlab-team/crawlab/enhancement.svg?label=enhancements&color=cyan">
|
||
</a>
|
||
<a href="https://github.com/crawlab-team/crawlab/blob/master/LICENSE" target="_blank">
|
||
<img src="https://img.shields.io/github/license/crawlab-team/crawlab.svg">
|
||
</a>
|
||
</p>
|
||
|
||
中文 | [English](https://github.com/crawlab-team/crawlab)
|
||
|
||
[安装](#安装) | [运行](#运行) | [截图](#截图) | [架构](#架构) | [集成](#与其他框架的集成) | [比较](#与其他框架比较) | [相关文章](#相关文章) | [社区&赞助](#社区--赞助) | [更新日志](https://github.com/crawlab-team/crawlab/blob/master/CHANGELOG-zh.md) | [免责声明](https://github.com/crawlab-team/crawlab/blob/master/DISCLAIMER-zh.md)
|
||
|
||
基于Golang的分布式爬虫管理平台,支持Python、NodeJS、Go、Java、PHP等多种编程语言以及多种爬虫框架。
|
||
|
||
[查看演示 Demo](http://crawlab.cn/demo) | [文档](http://docs.crawlab.cn)
|
||
|
||
## 安装
|
||
|
||
三种方式:
|
||
1. [Docker](http://docs.crawlab.cn/Installation/Docker.html)(推荐)
|
||
2. [直接部署](http://docs.crawlab.cn/Installation/Direct.html)(了解内核)
|
||
3. [Kubernetes](http://docs.crawlab.cn/Installation/Kubernetes.html) (多节点部署)
|
||
|
||
### 要求(Docker)
|
||
- Docker 18.03+
|
||
- Redis 5.x+
|
||
- MongoDB 3.6+
|
||
- Docker Compose 1.24+ (可选,但推荐)
|
||
|
||
### 要求(直接部署)
|
||
- Go 1.12+
|
||
- Node 8.12+
|
||
- Redis 5.x+
|
||
- MongoDB 3.6+
|
||
|
||
## 快速开始
|
||
|
||
请打开命令行并执行下列命令。请保证您已经提前安装了 `docker-compose`。
|
||
|
||
```bash
|
||
git clone https://github.com/crawlab-team/crawlab
|
||
cd crawlab
|
||
docker-compose up -d
|
||
```
|
||
|
||
接下来,您可以看看 `docker-compose.yml` (包含详细配置参数),以及参考 [文档](http://docs.crawlab.cn) 来查看更多信息。
|
||
|
||
## 运行
|
||
|
||
### Docker
|
||
|
||
请用`docker-compose`来一键启动,甚至不用配置MongoDB和Redis数据库,**当然我们推荐这样做**。在当前目录中创建`docker-compose.yml`文件,输入以下内容。
|
||
|
||
```yaml
|
||
version: '3.3'
|
||
services:
|
||
master:
|
||
image: tikazyq/crawlab:latest
|
||
container_name: master
|
||
environment:
|
||
CRAWLAB_SERVER_MASTER: "Y"
|
||
CRAWLAB_MONGO_HOST: "mongo"
|
||
CRAWLAB_REDIS_ADDRESS: "redis"
|
||
ports:
|
||
- "8080:8080"
|
||
depends_on:
|
||
- mongo
|
||
- redis
|
||
mongo:
|
||
image: mongo:latest
|
||
restart: always
|
||
ports:
|
||
- "27017:27017"
|
||
redis:
|
||
image: redis:latest
|
||
restart: always
|
||
ports:
|
||
- "6379:6379"
|
||
```
|
||
|
||
然后执行以下命令,Crawlab主节点+MongoDB+Redis就启动了。打开`http://localhost:8080`就能看到界面。
|
||
|
||
```bash
|
||
docker-compose up
|
||
```
|
||
|
||
Docker部署的详情,请见[相关文档](https://tikazyq.github.io/crawlab-docs/Installation/Docker.html)。
|
||
|
||
### 直接部署
|
||
|
||
请参考[相关文档](https://tikazyq.github.io/crawlab-docs/Installation/Direct.html)。
|
||
|
||
## 截图
|
||
|
||
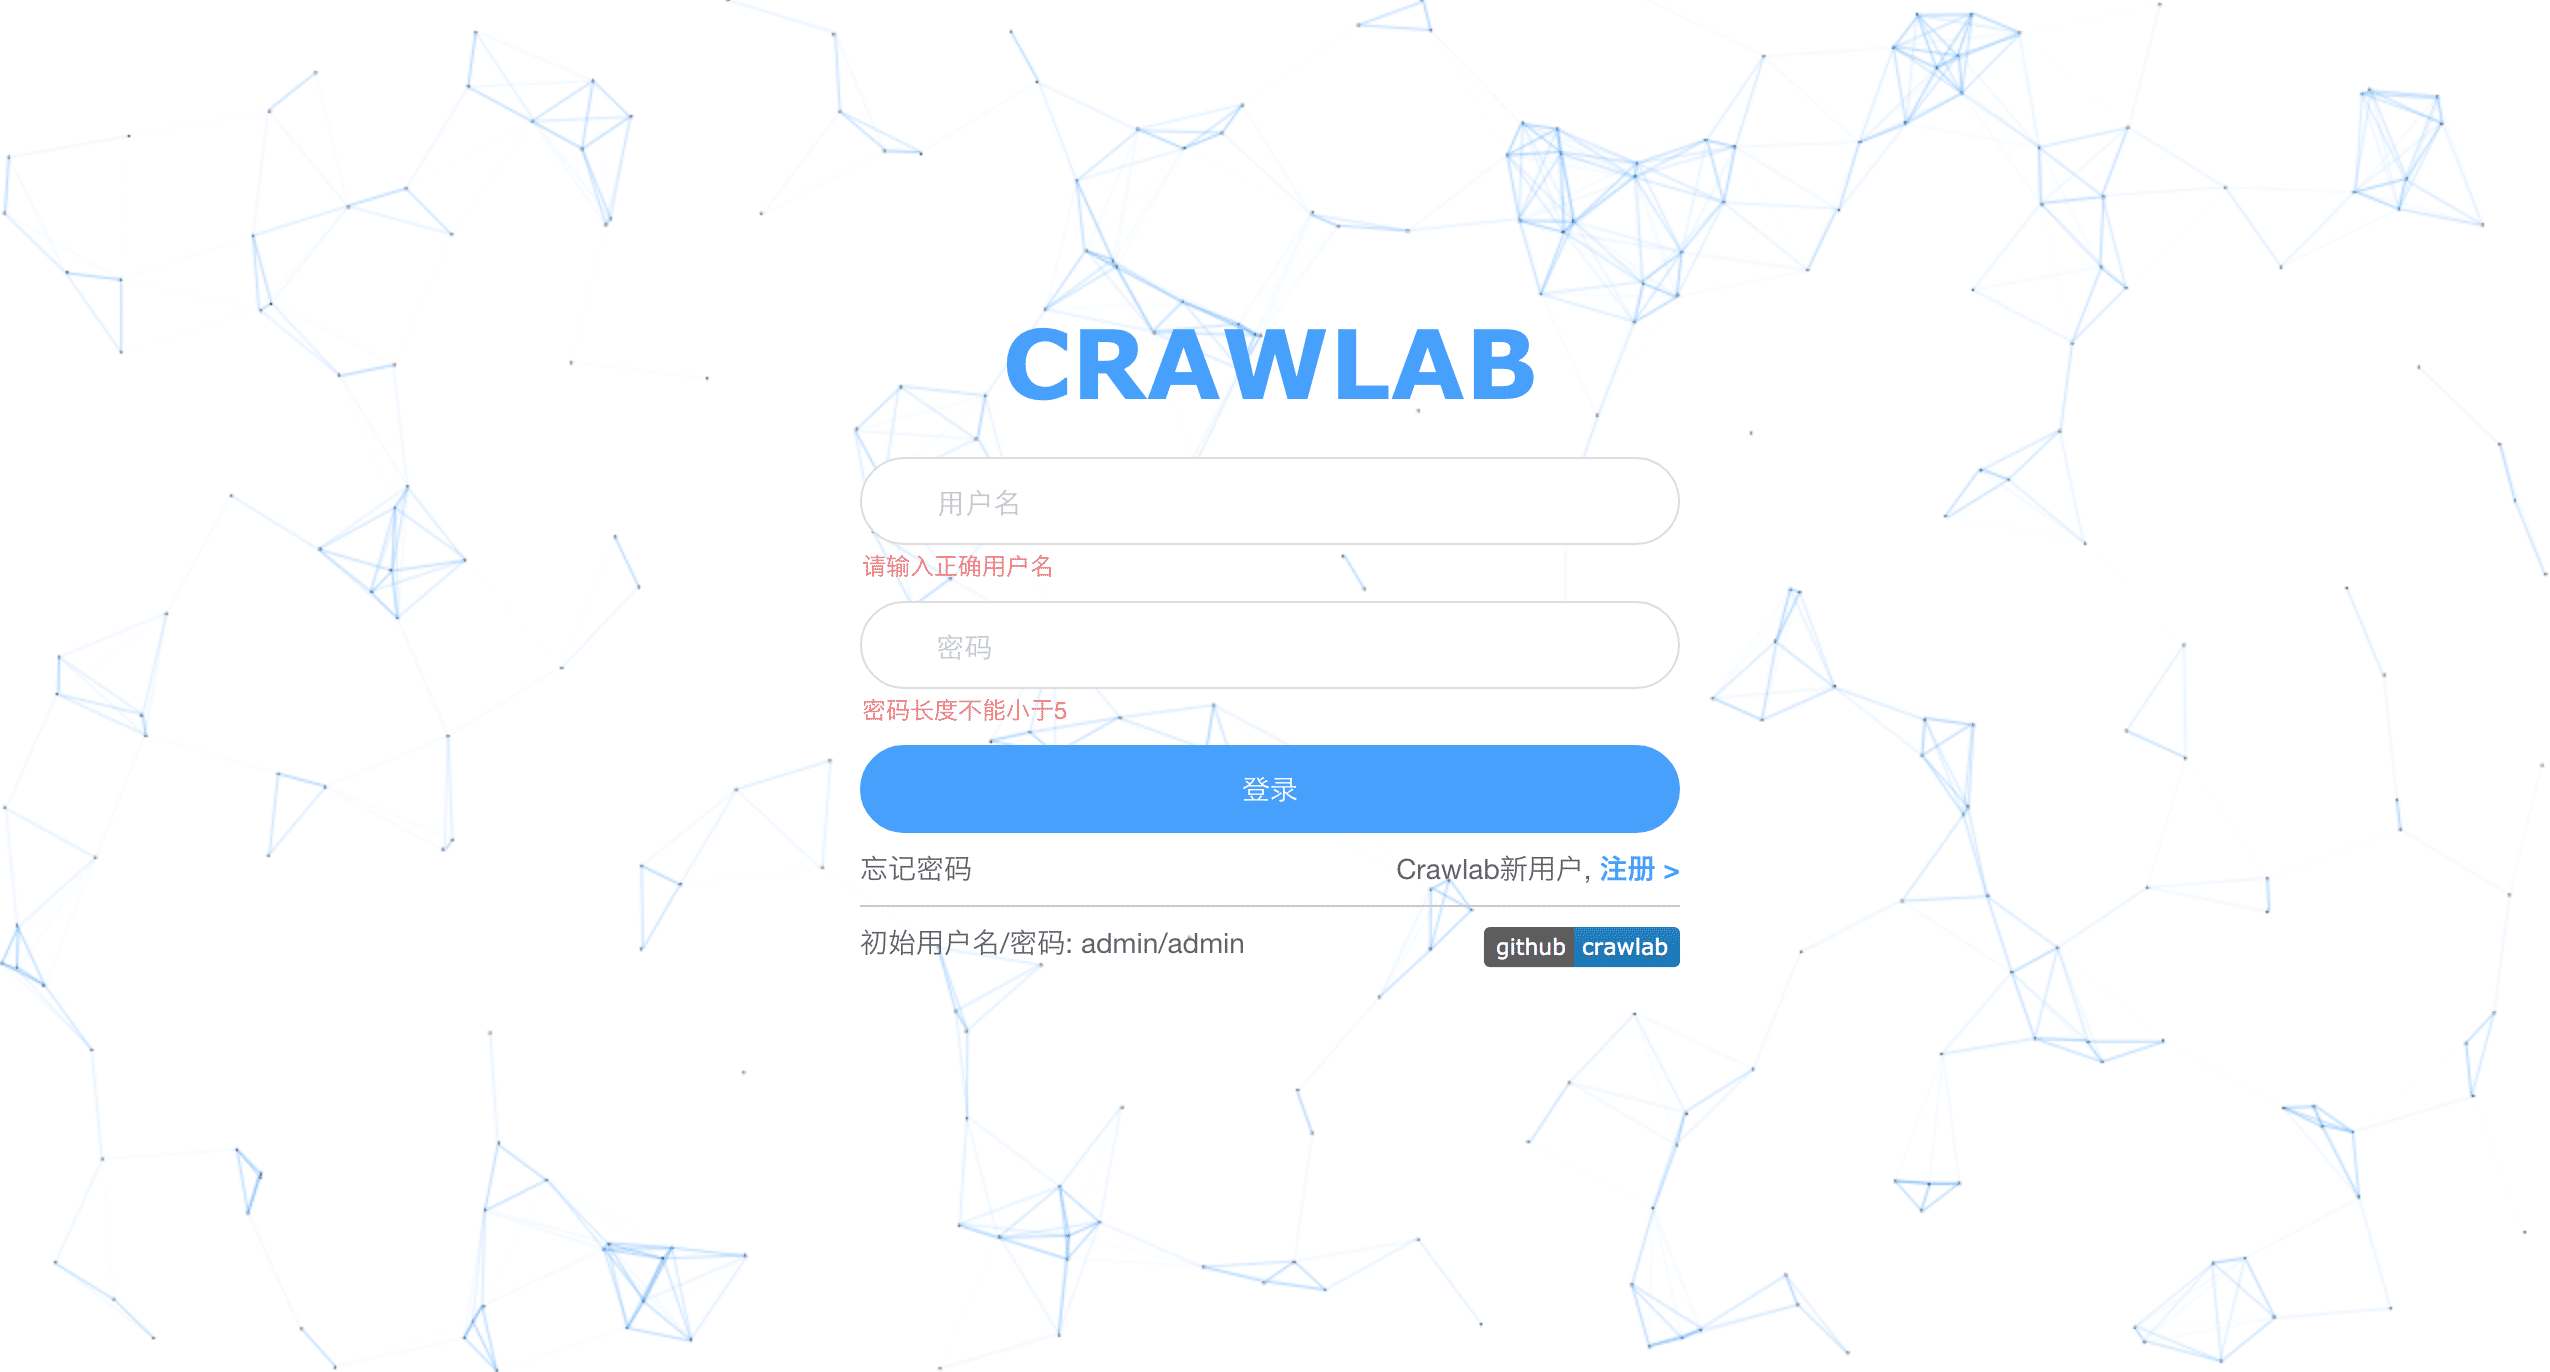
#### 登录
|
||
|
||
|
||
|
||
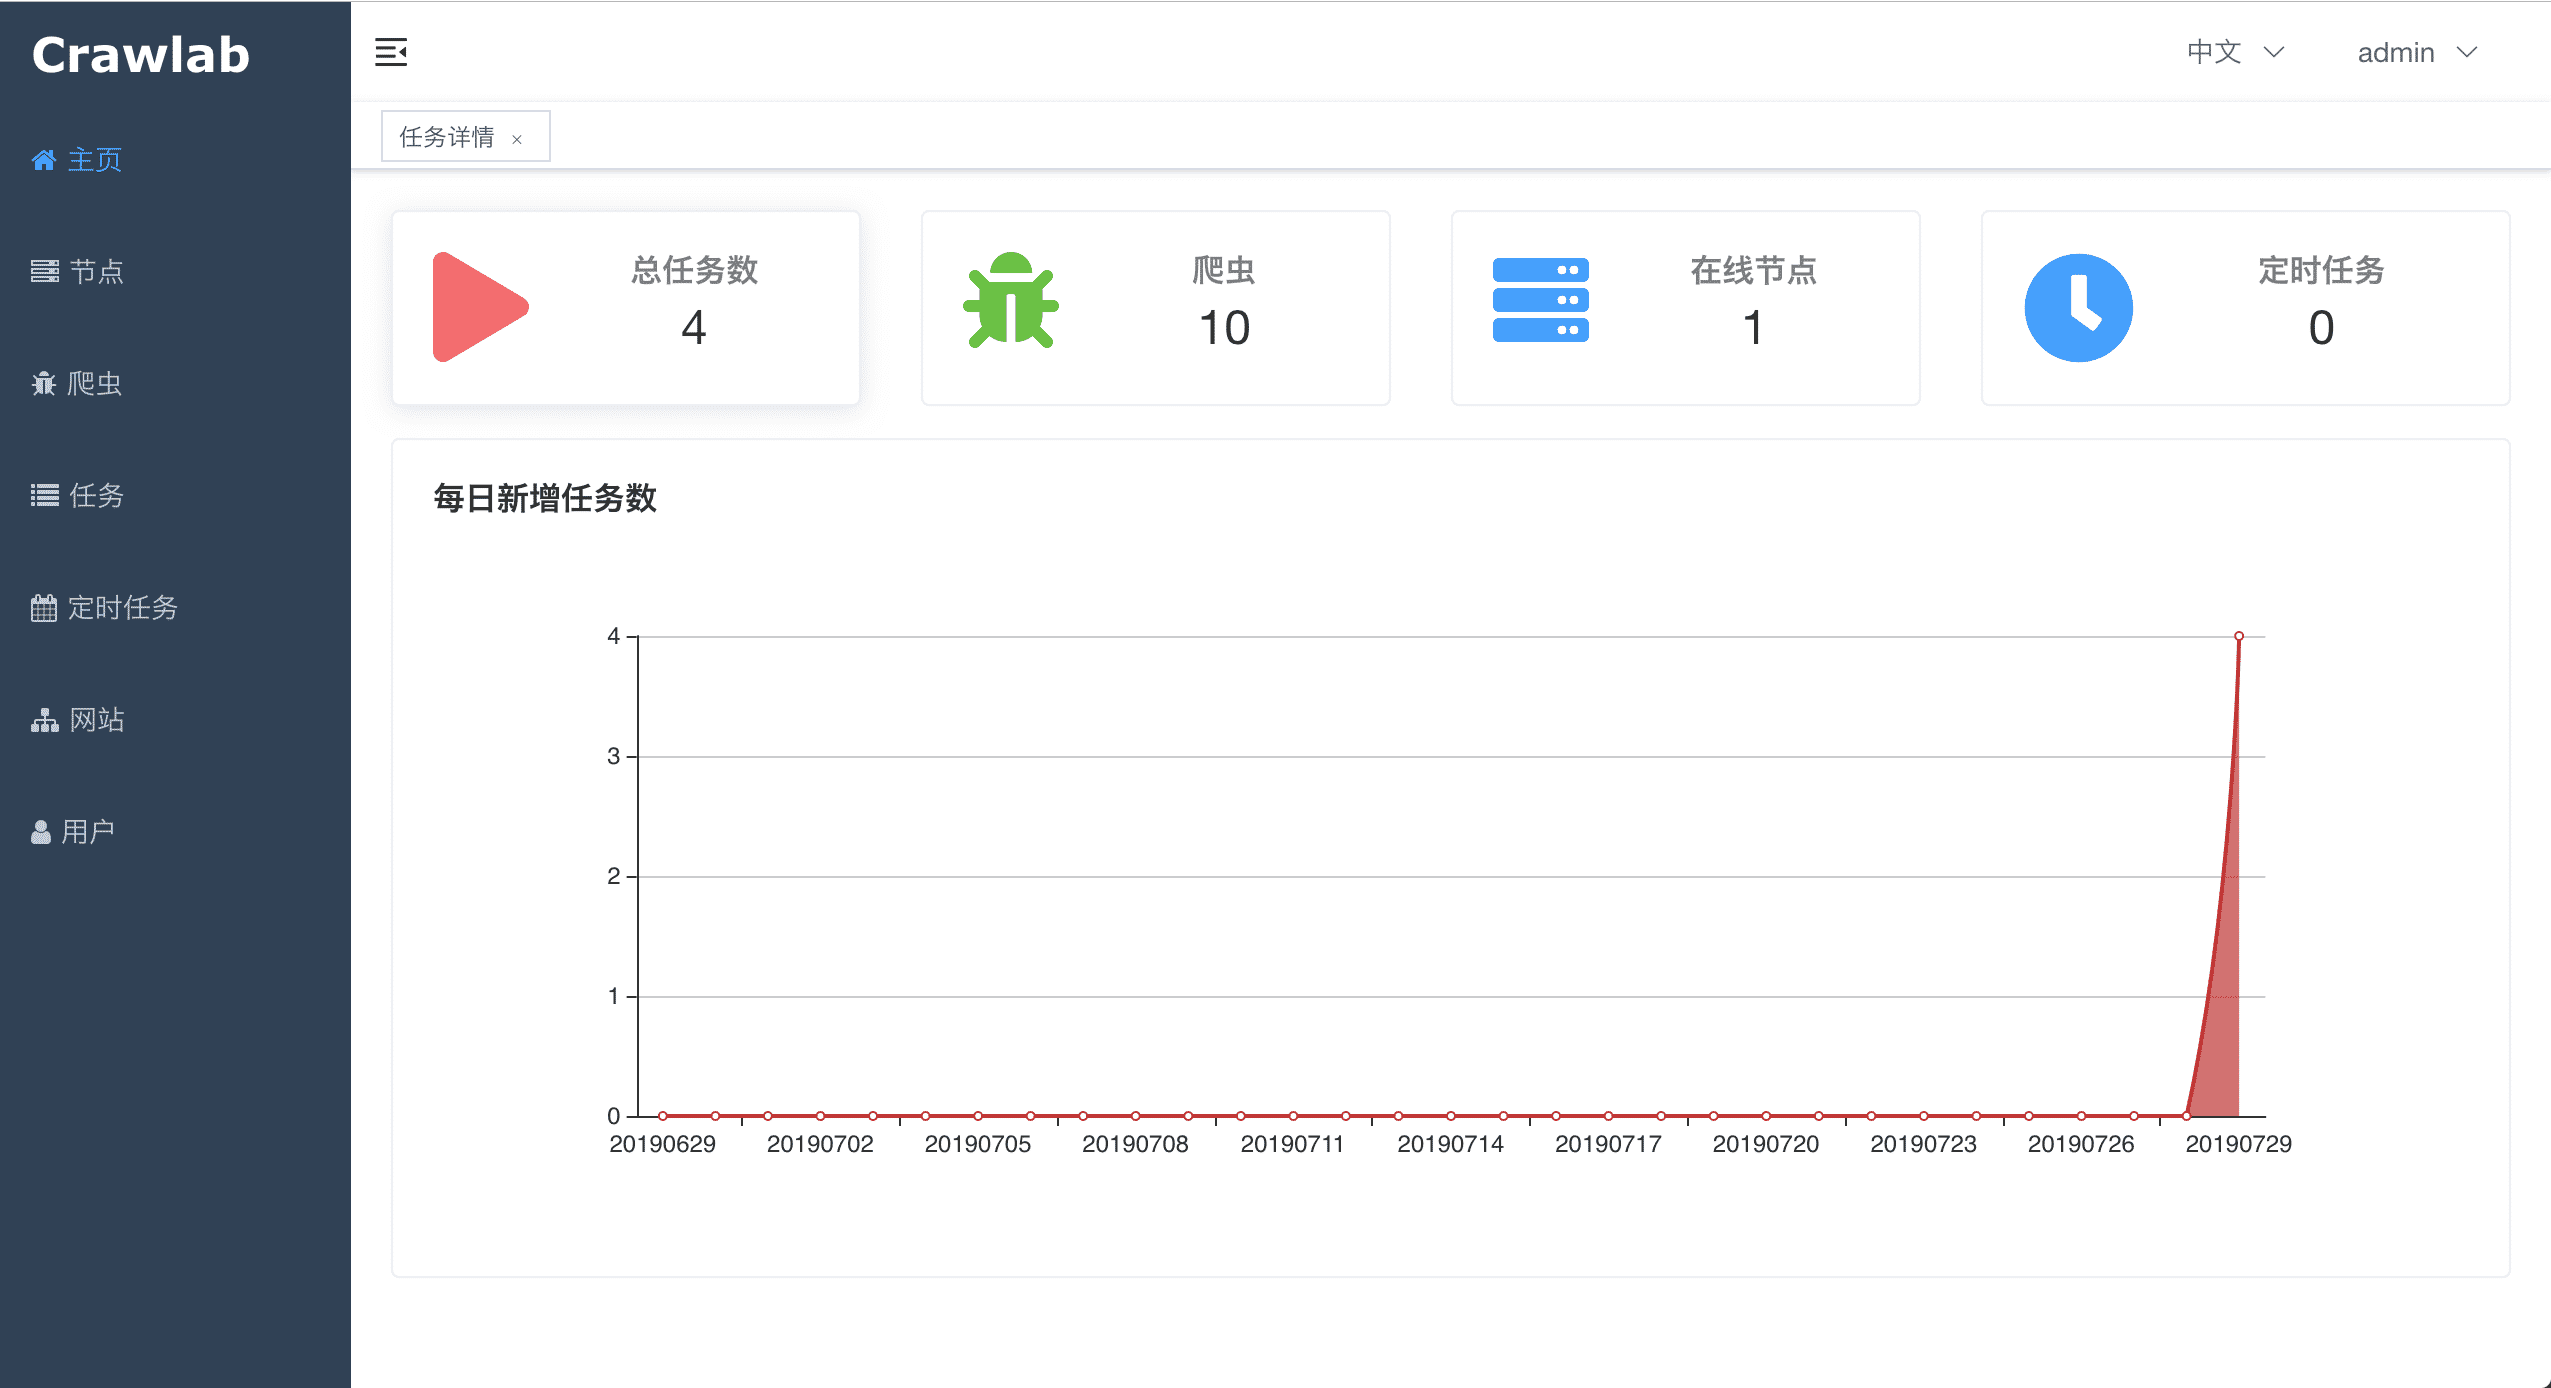
#### 首页
|
||
|
||
|
||
|
||
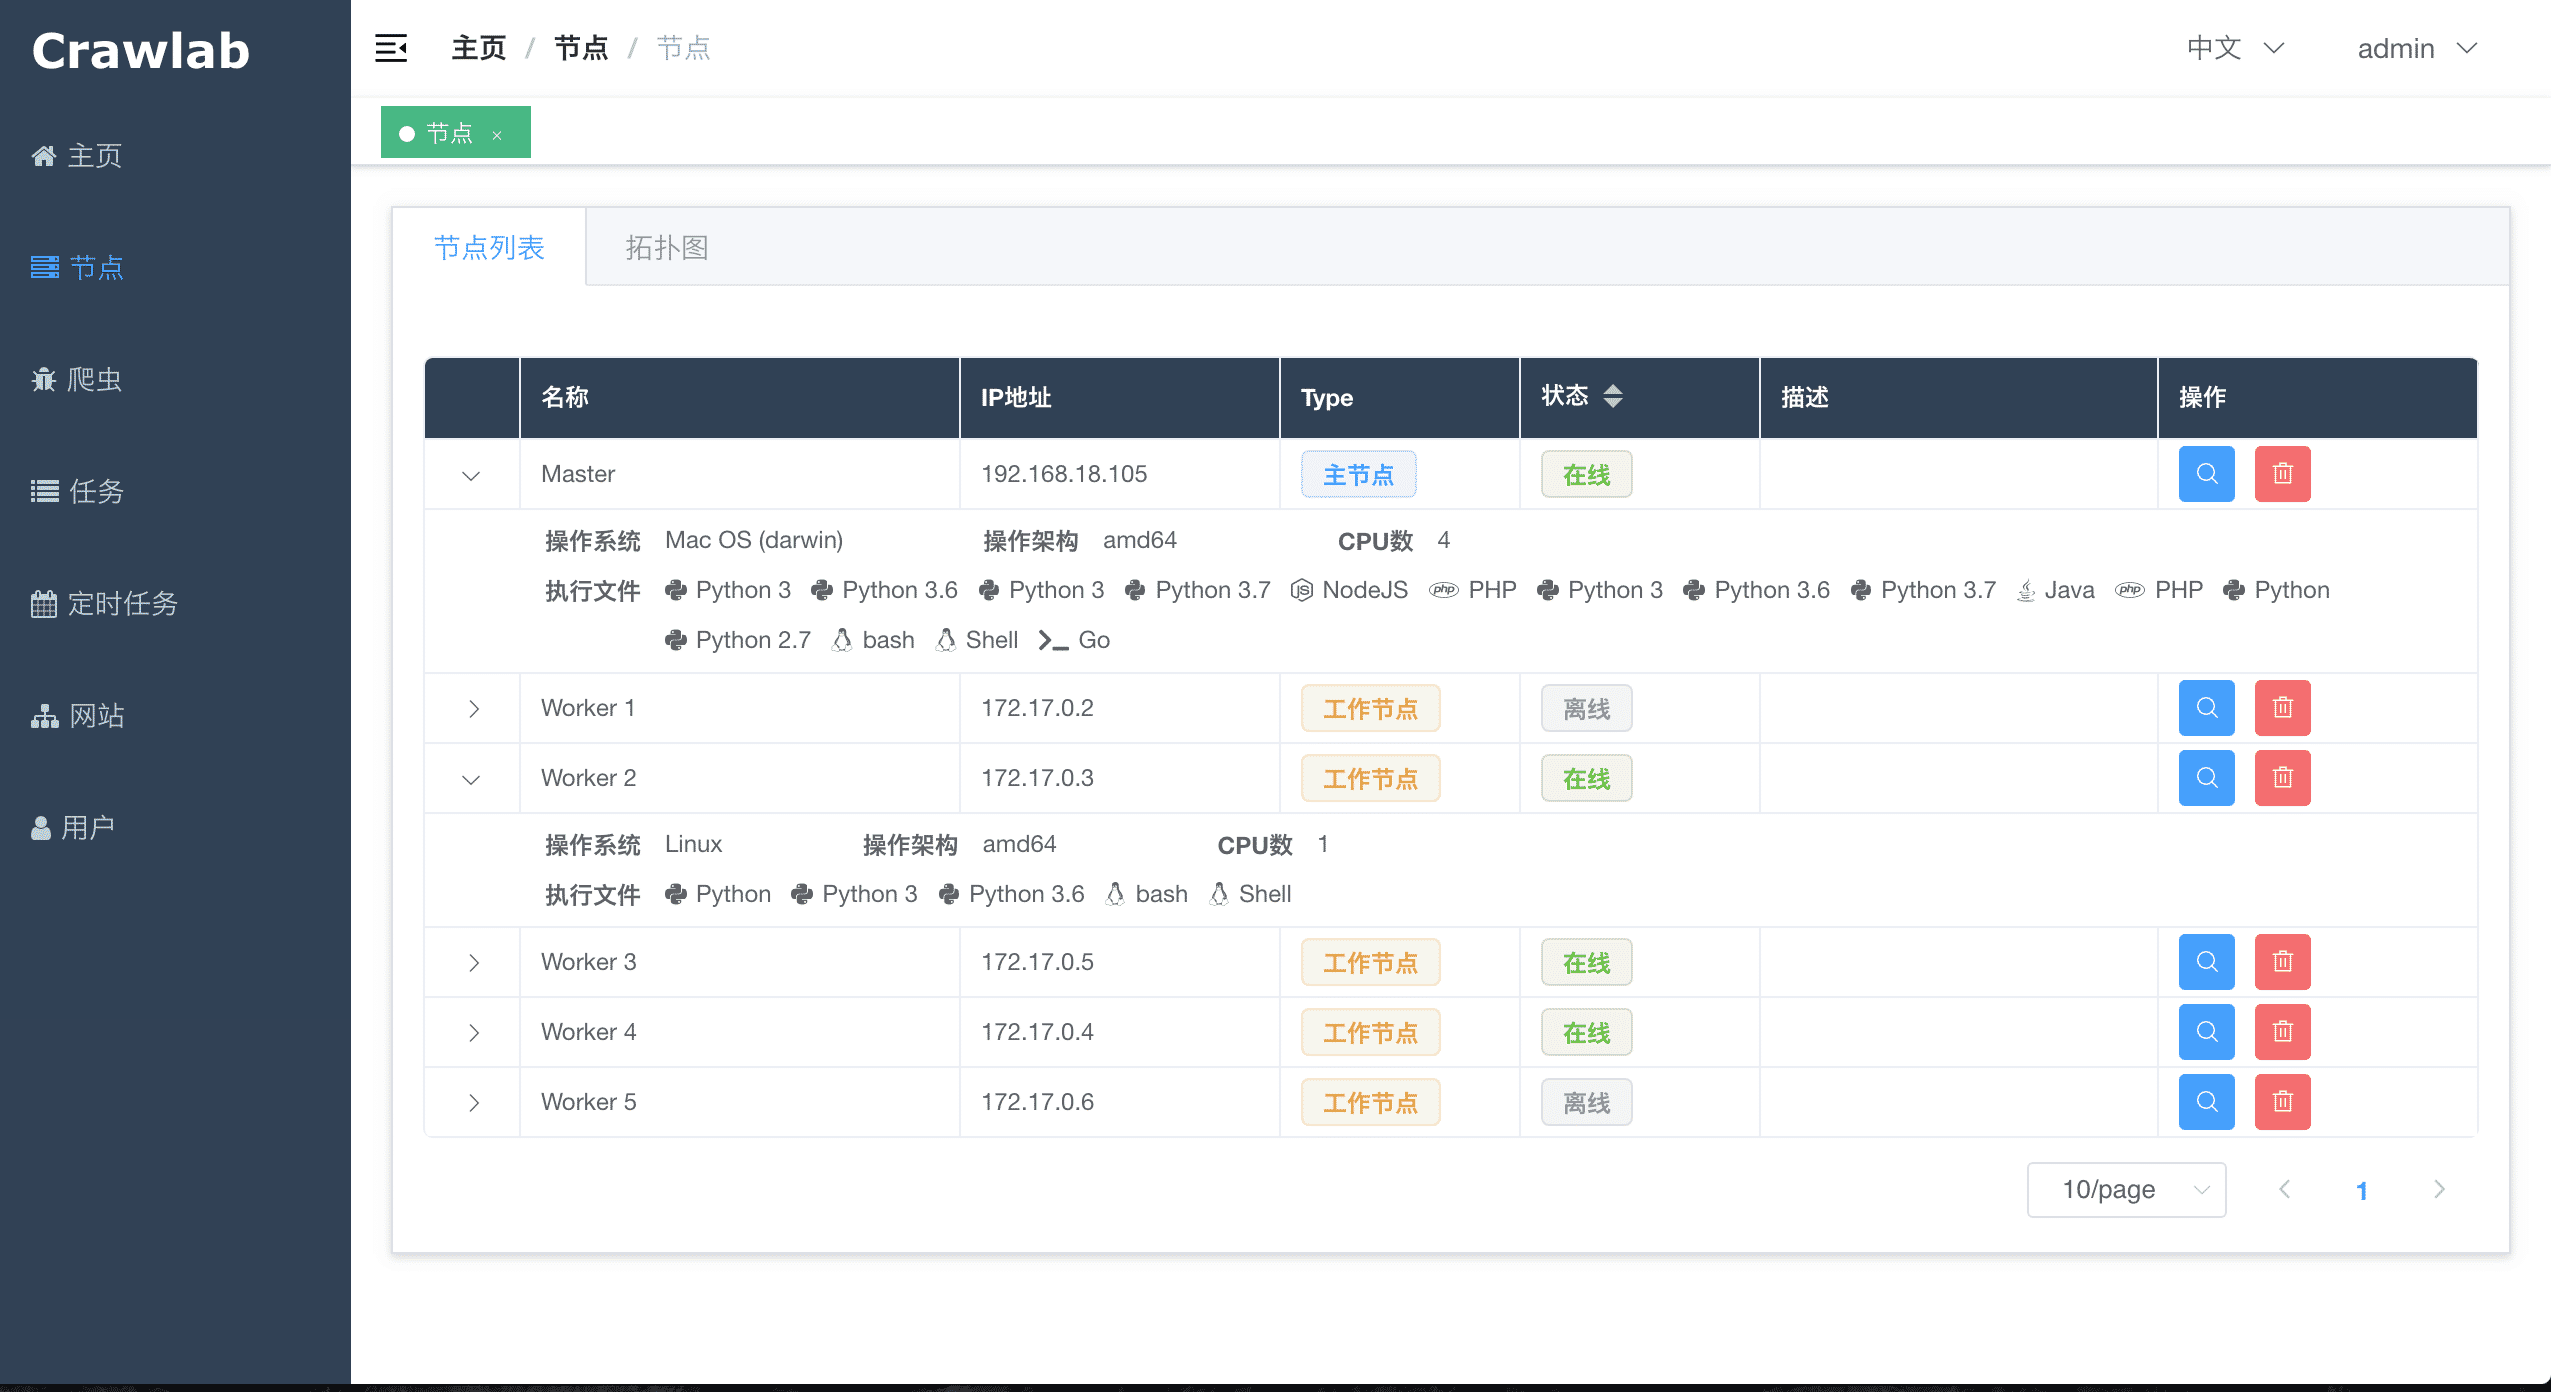
#### 节点列表
|
||
|
||
|
||
|
||
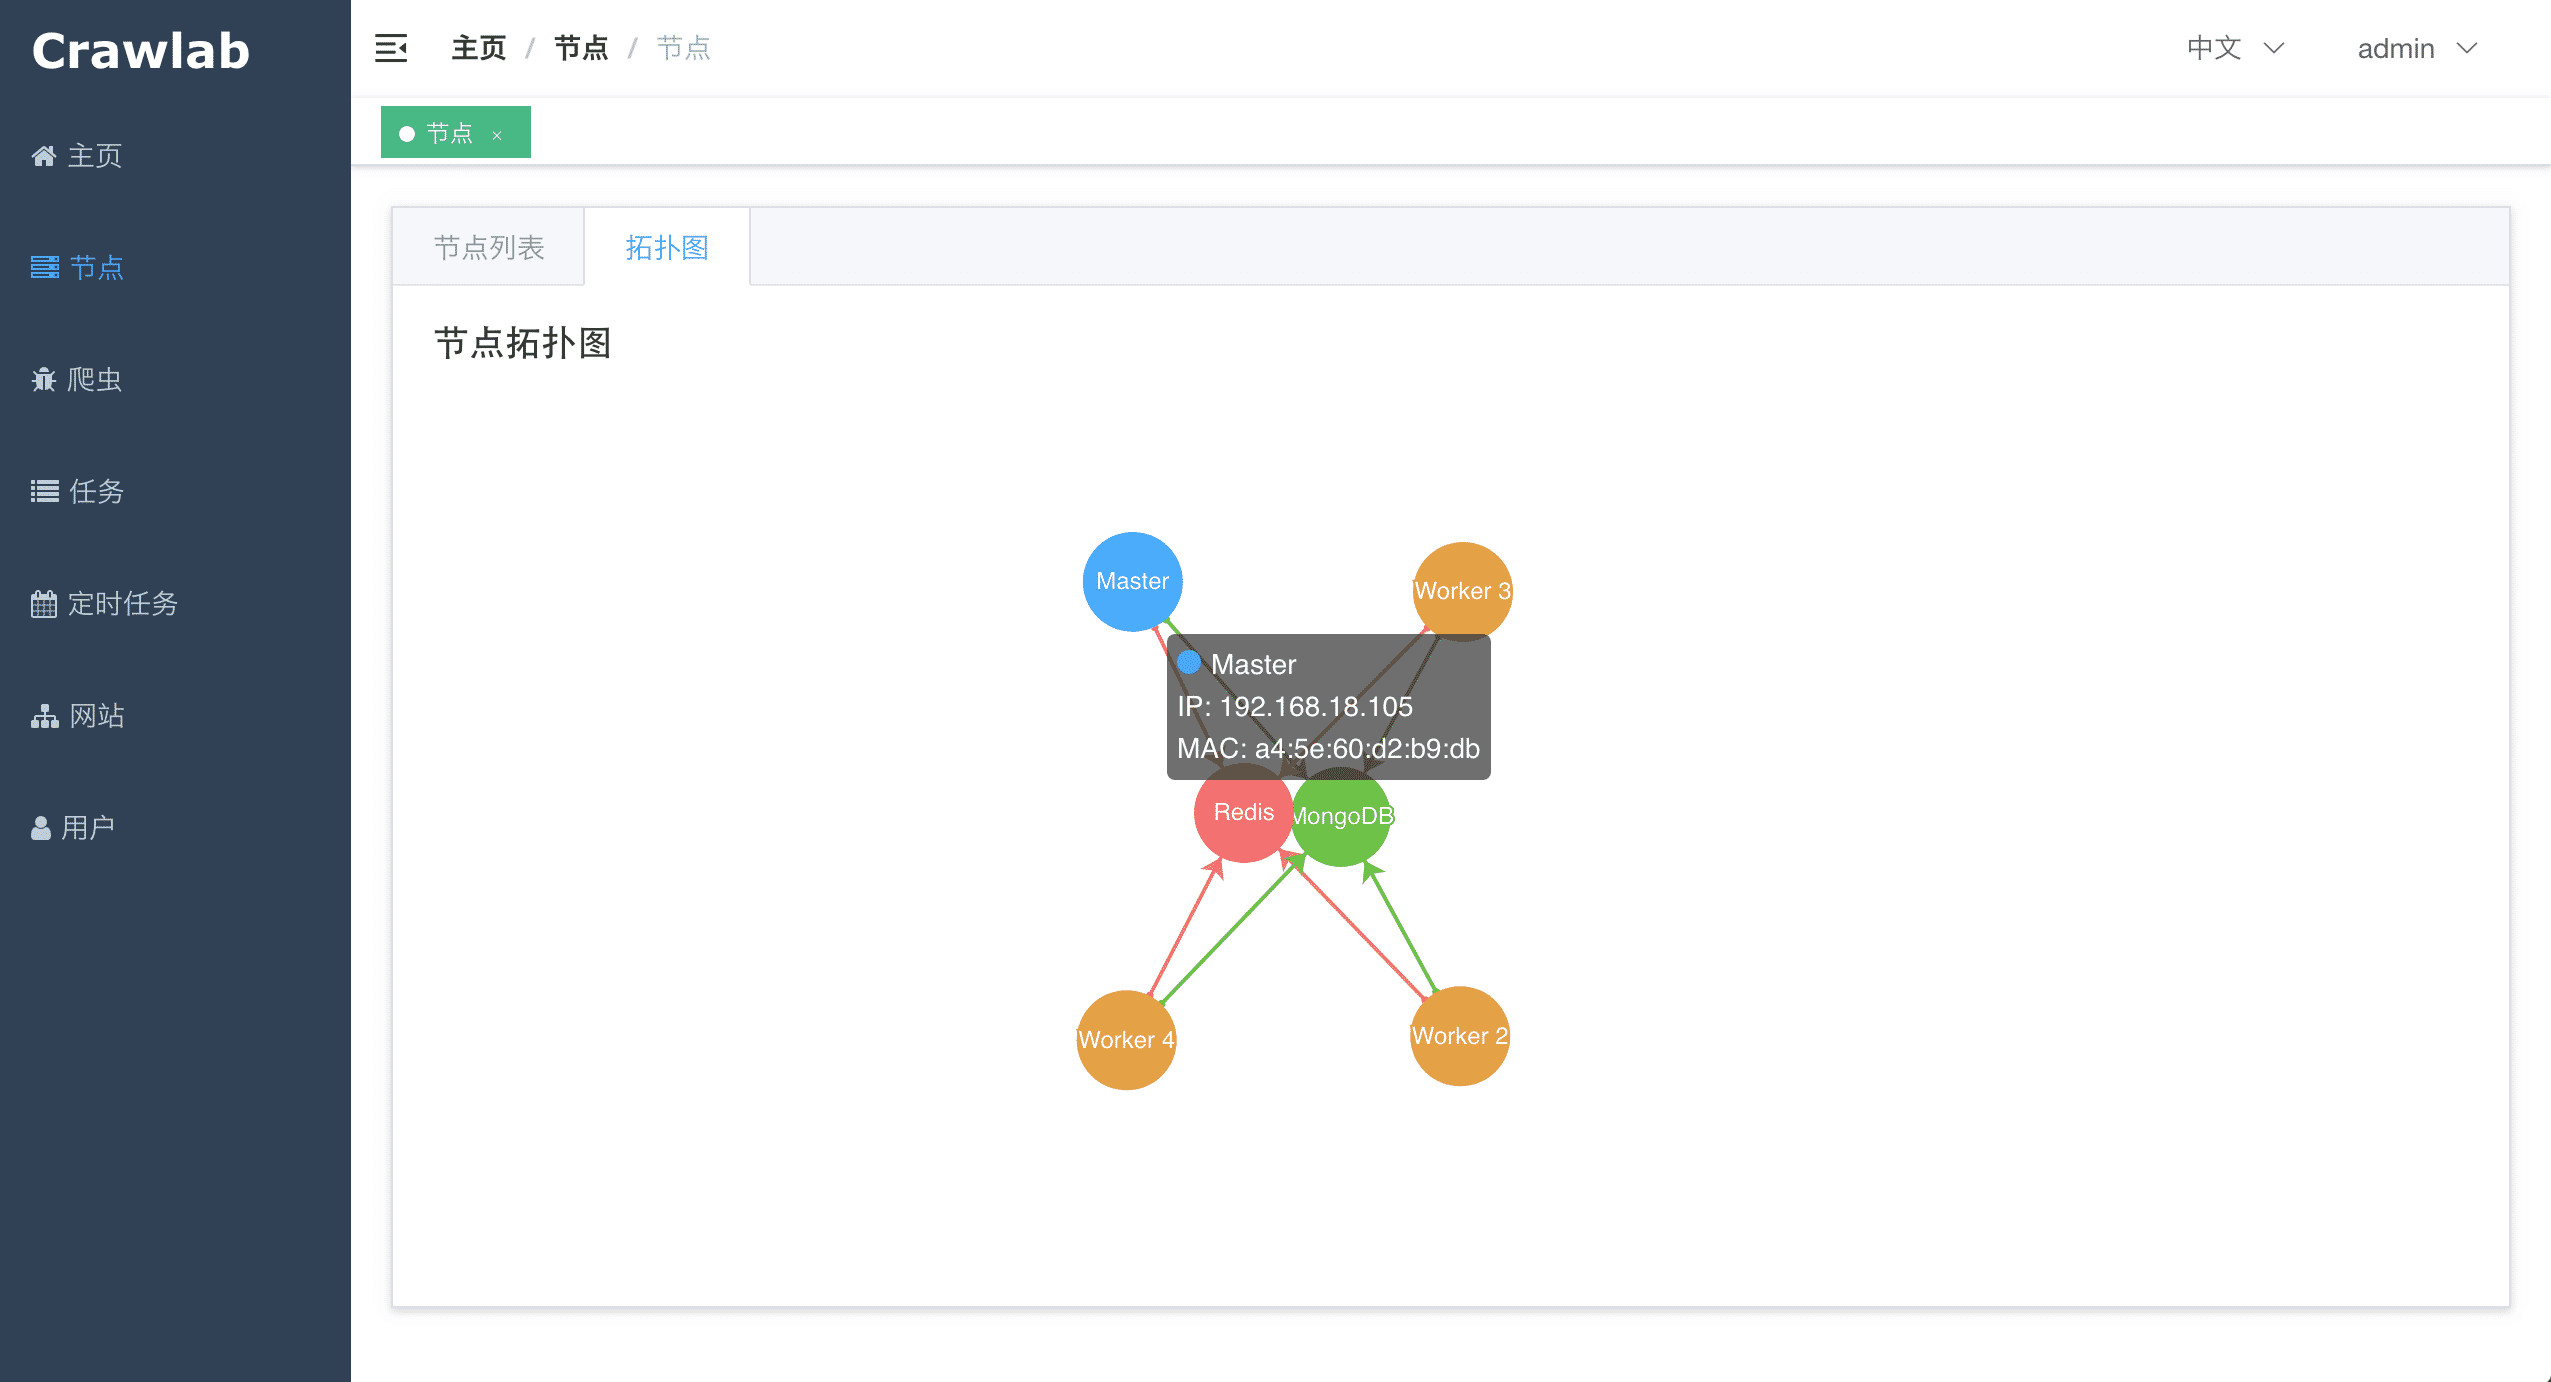
#### 节点拓扑图
|
||
|
||
|
||
|
||
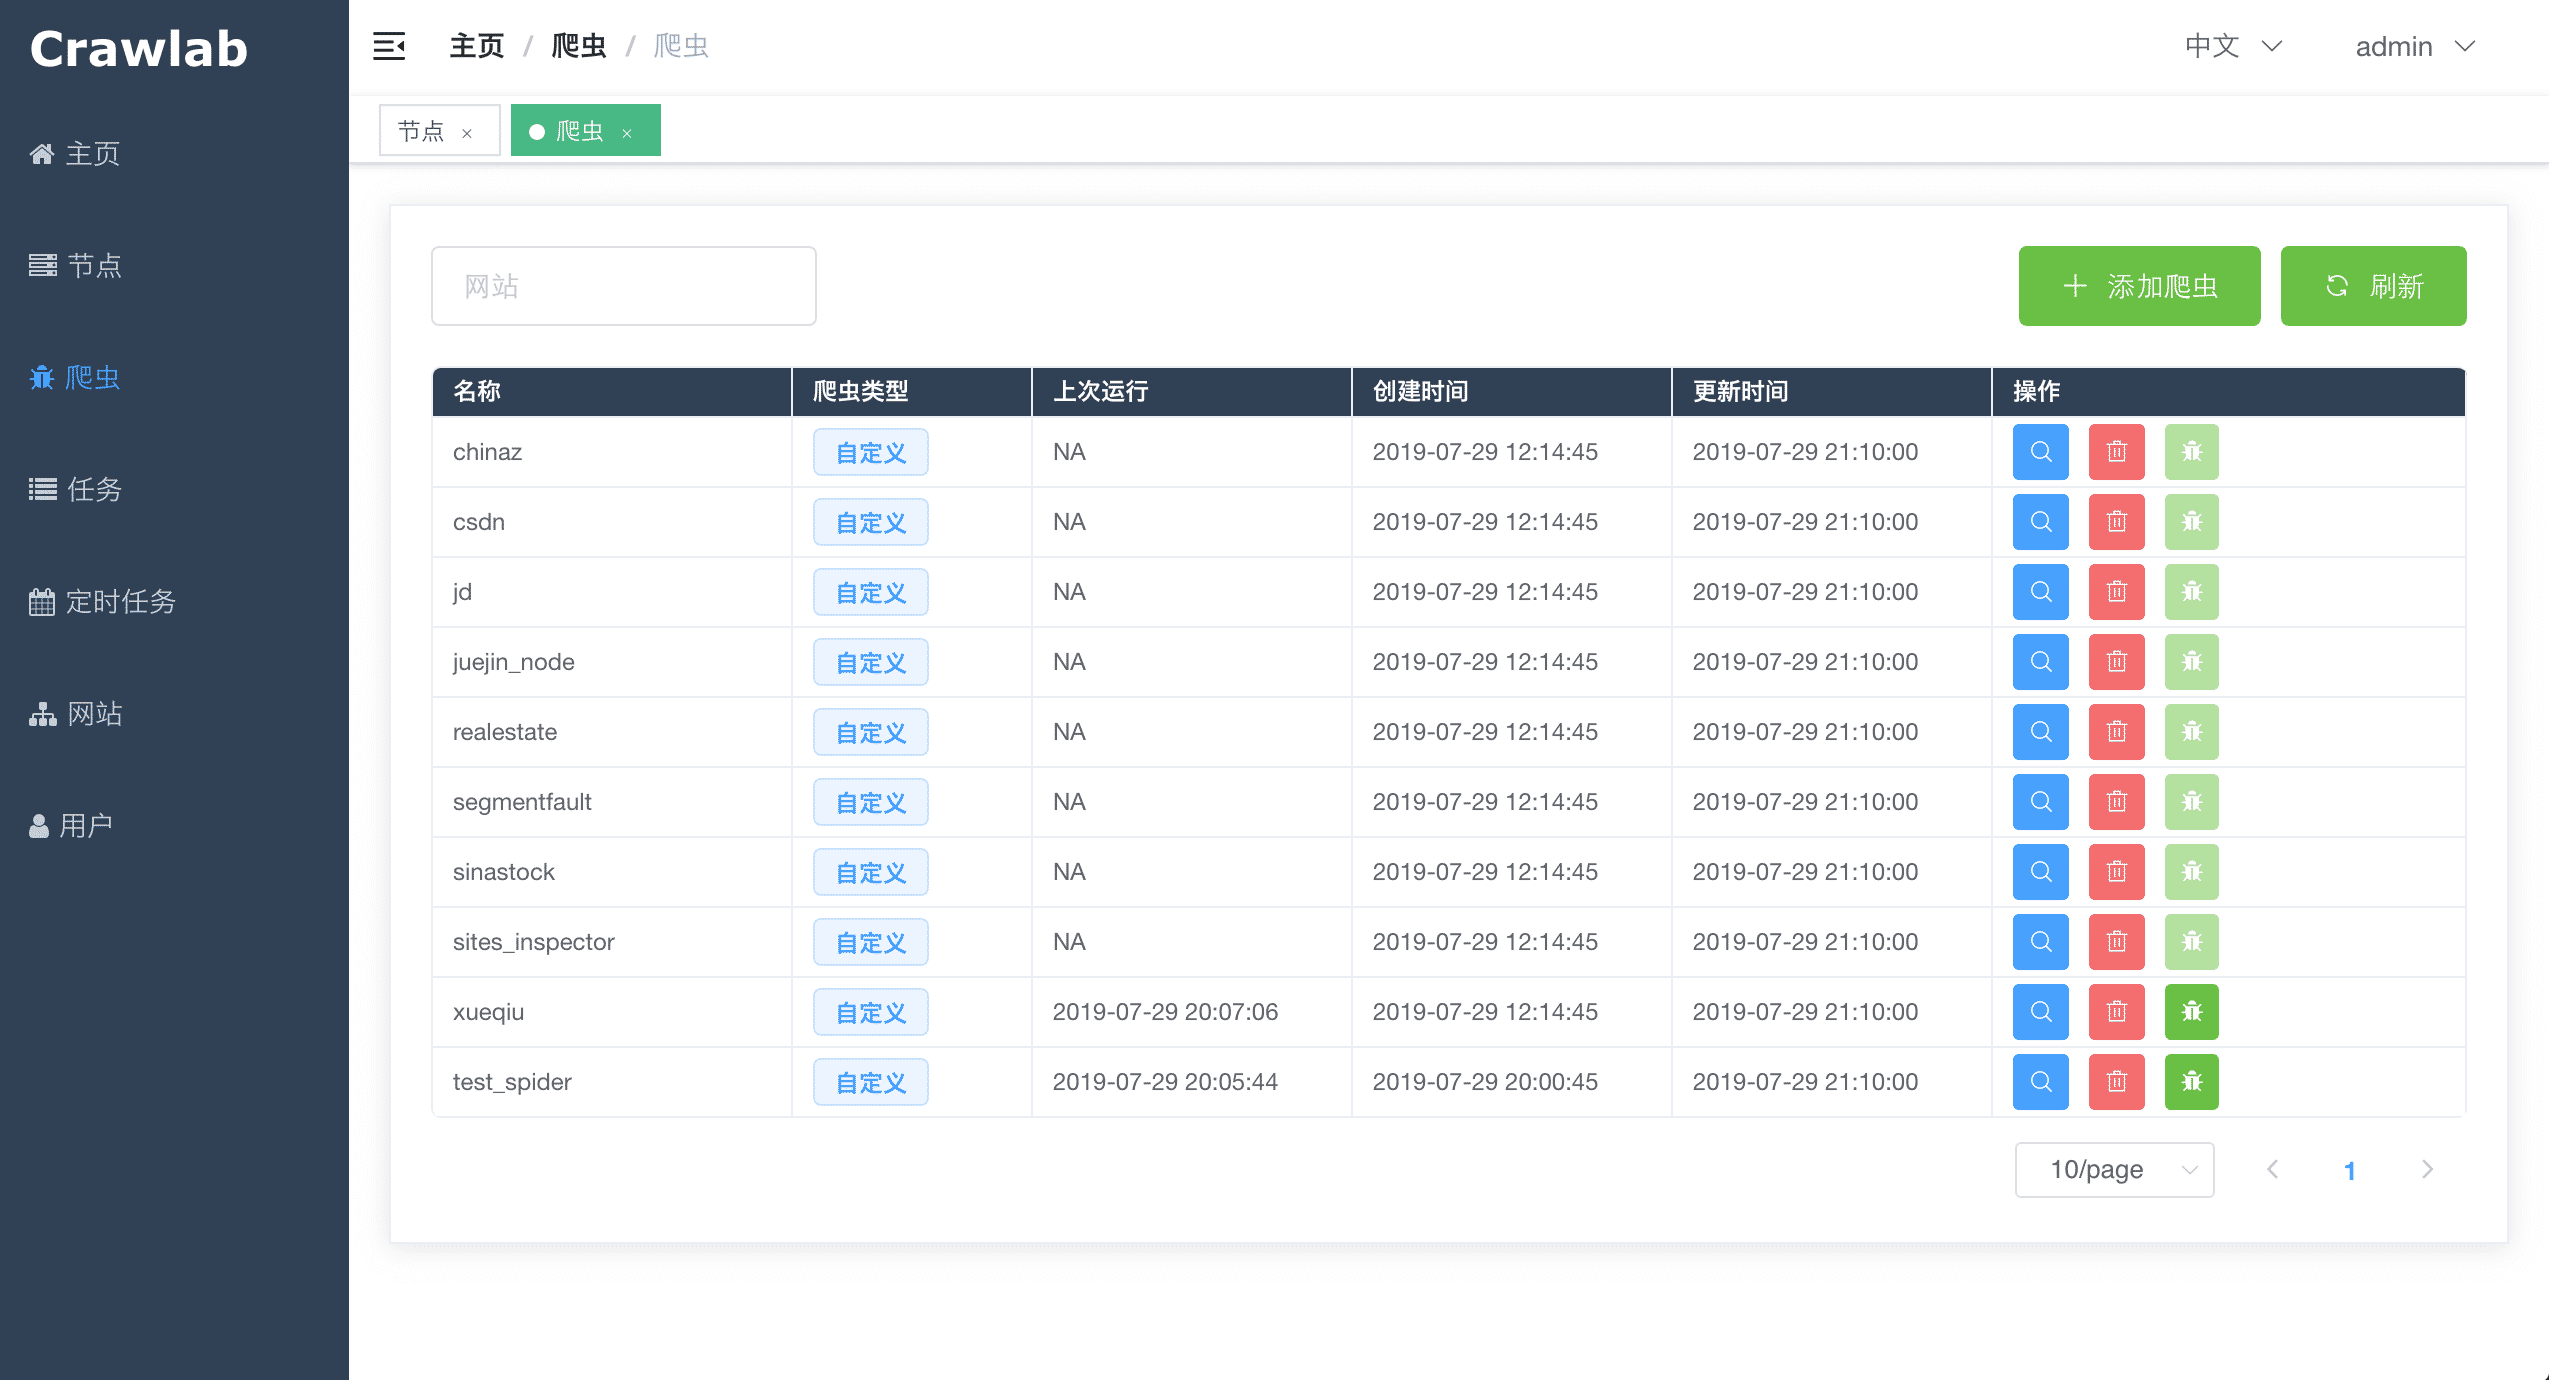
#### 爬虫列表
|
||
|
||
|
||
|
||
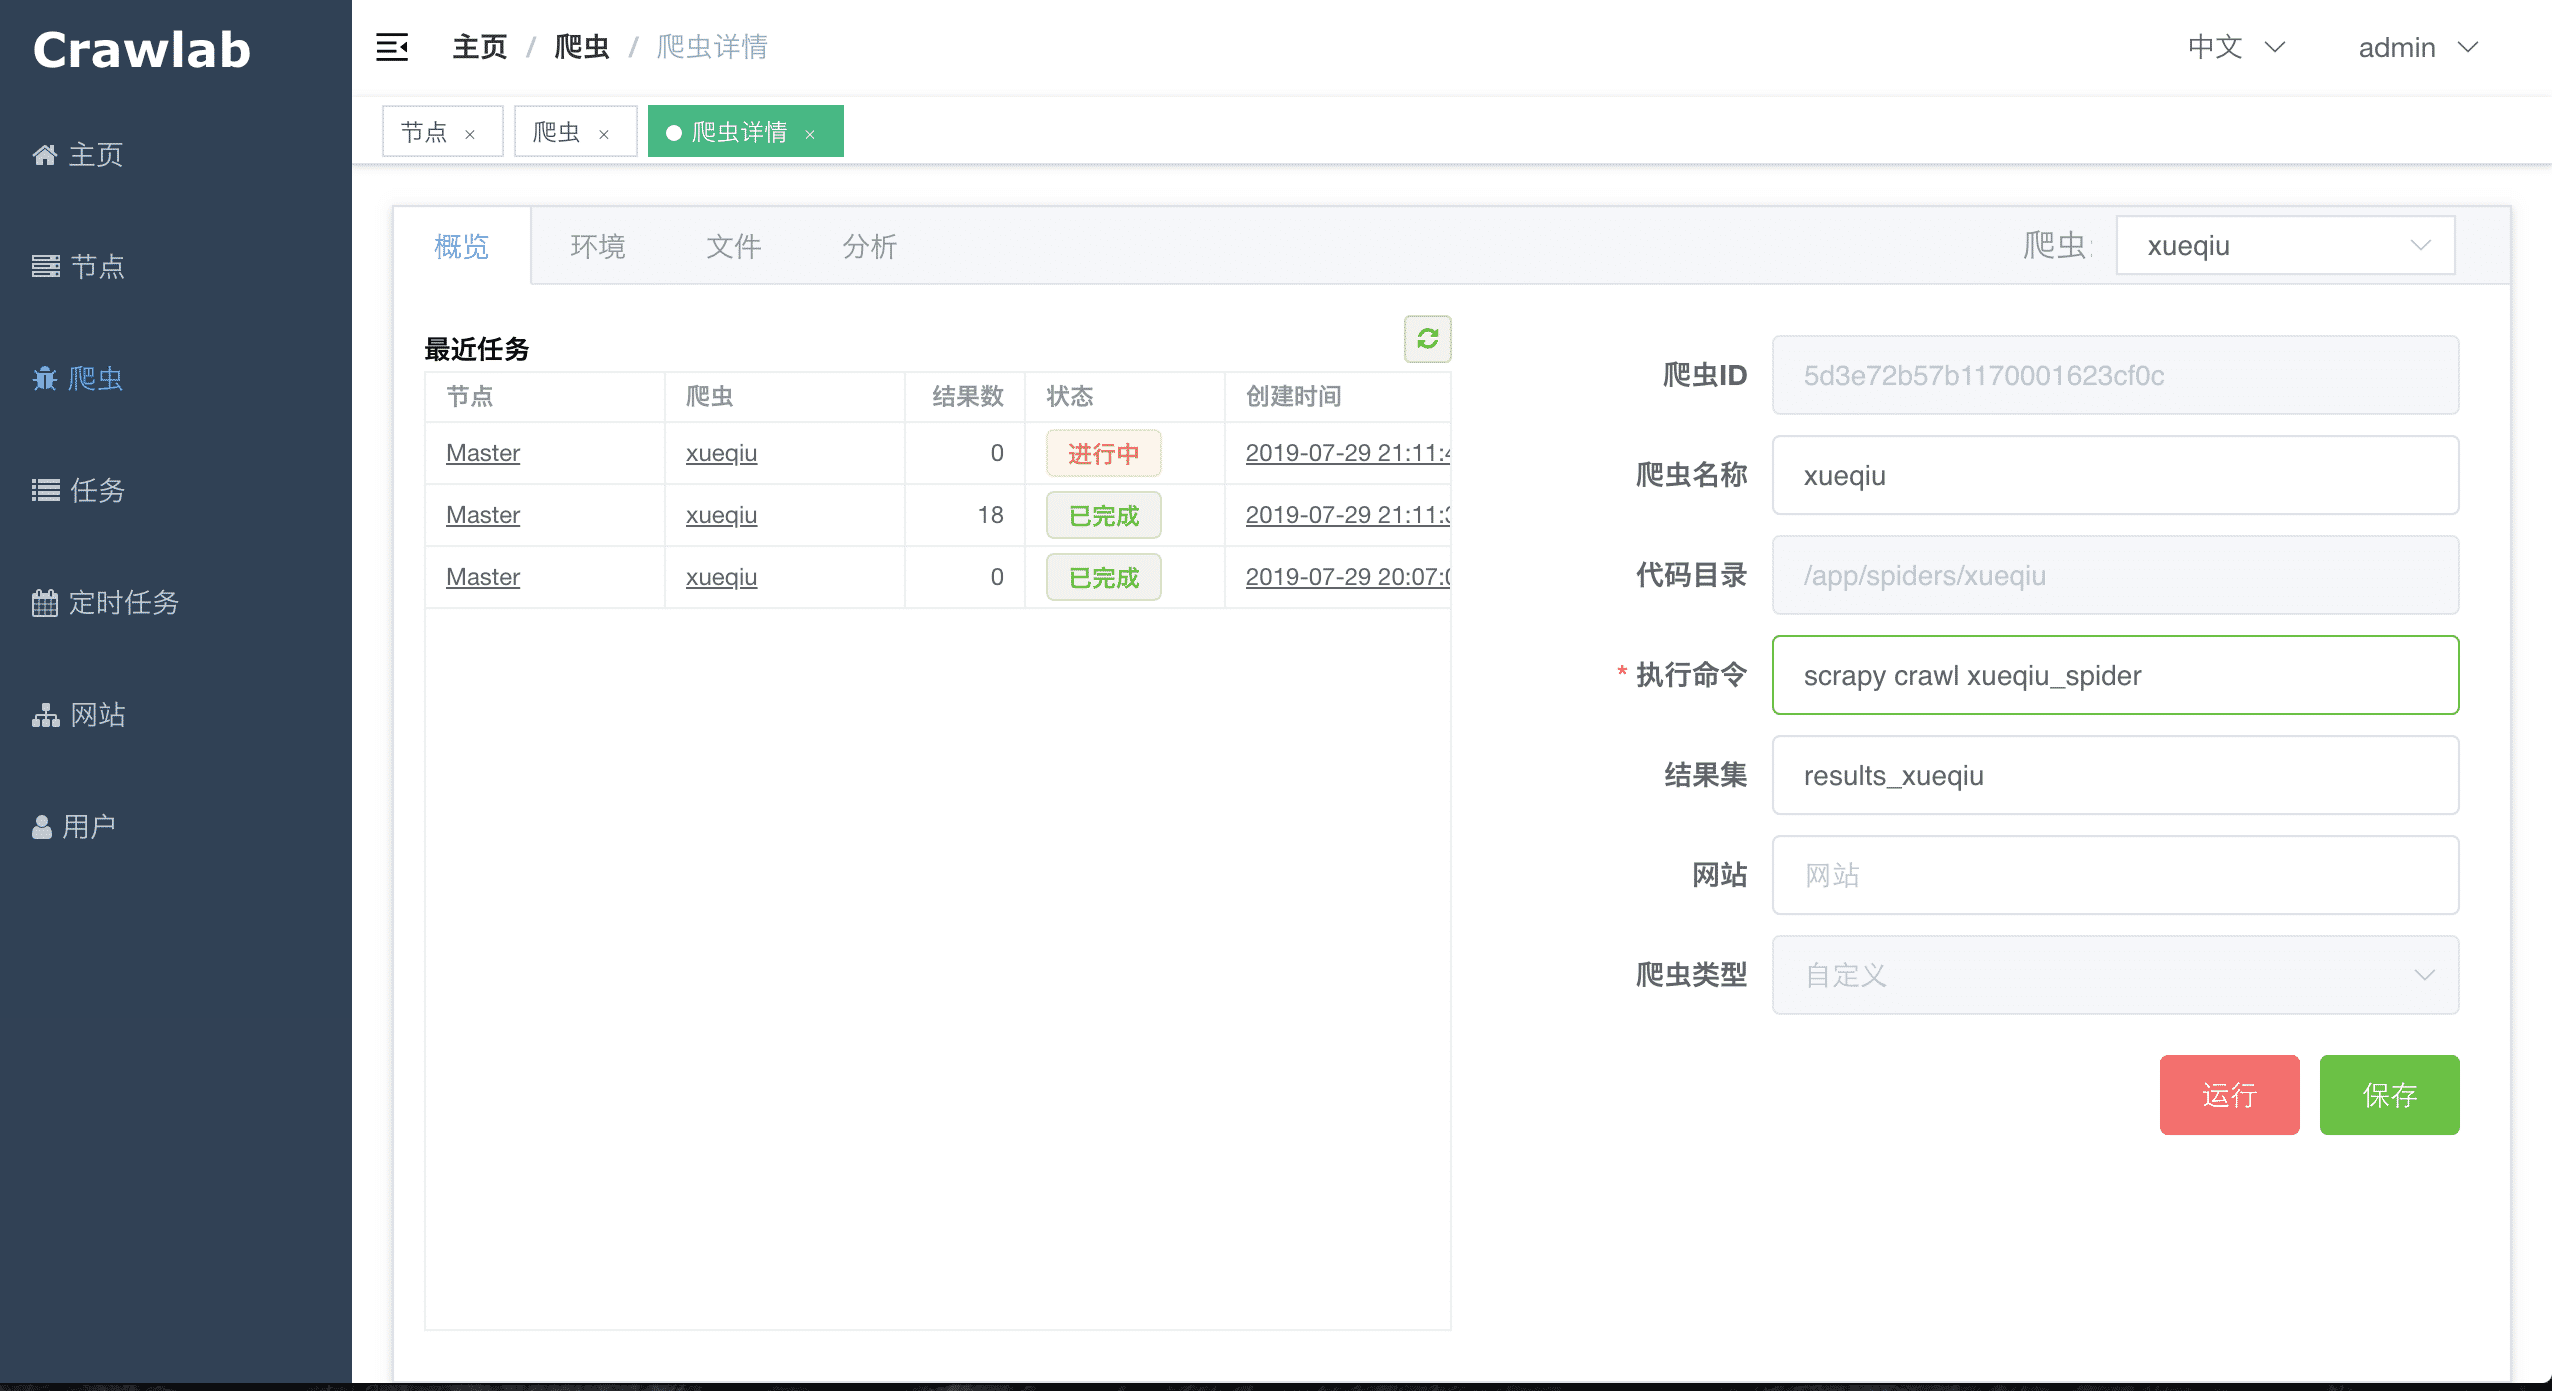
#### 爬虫概览
|
||
|
||
|
||
|
||
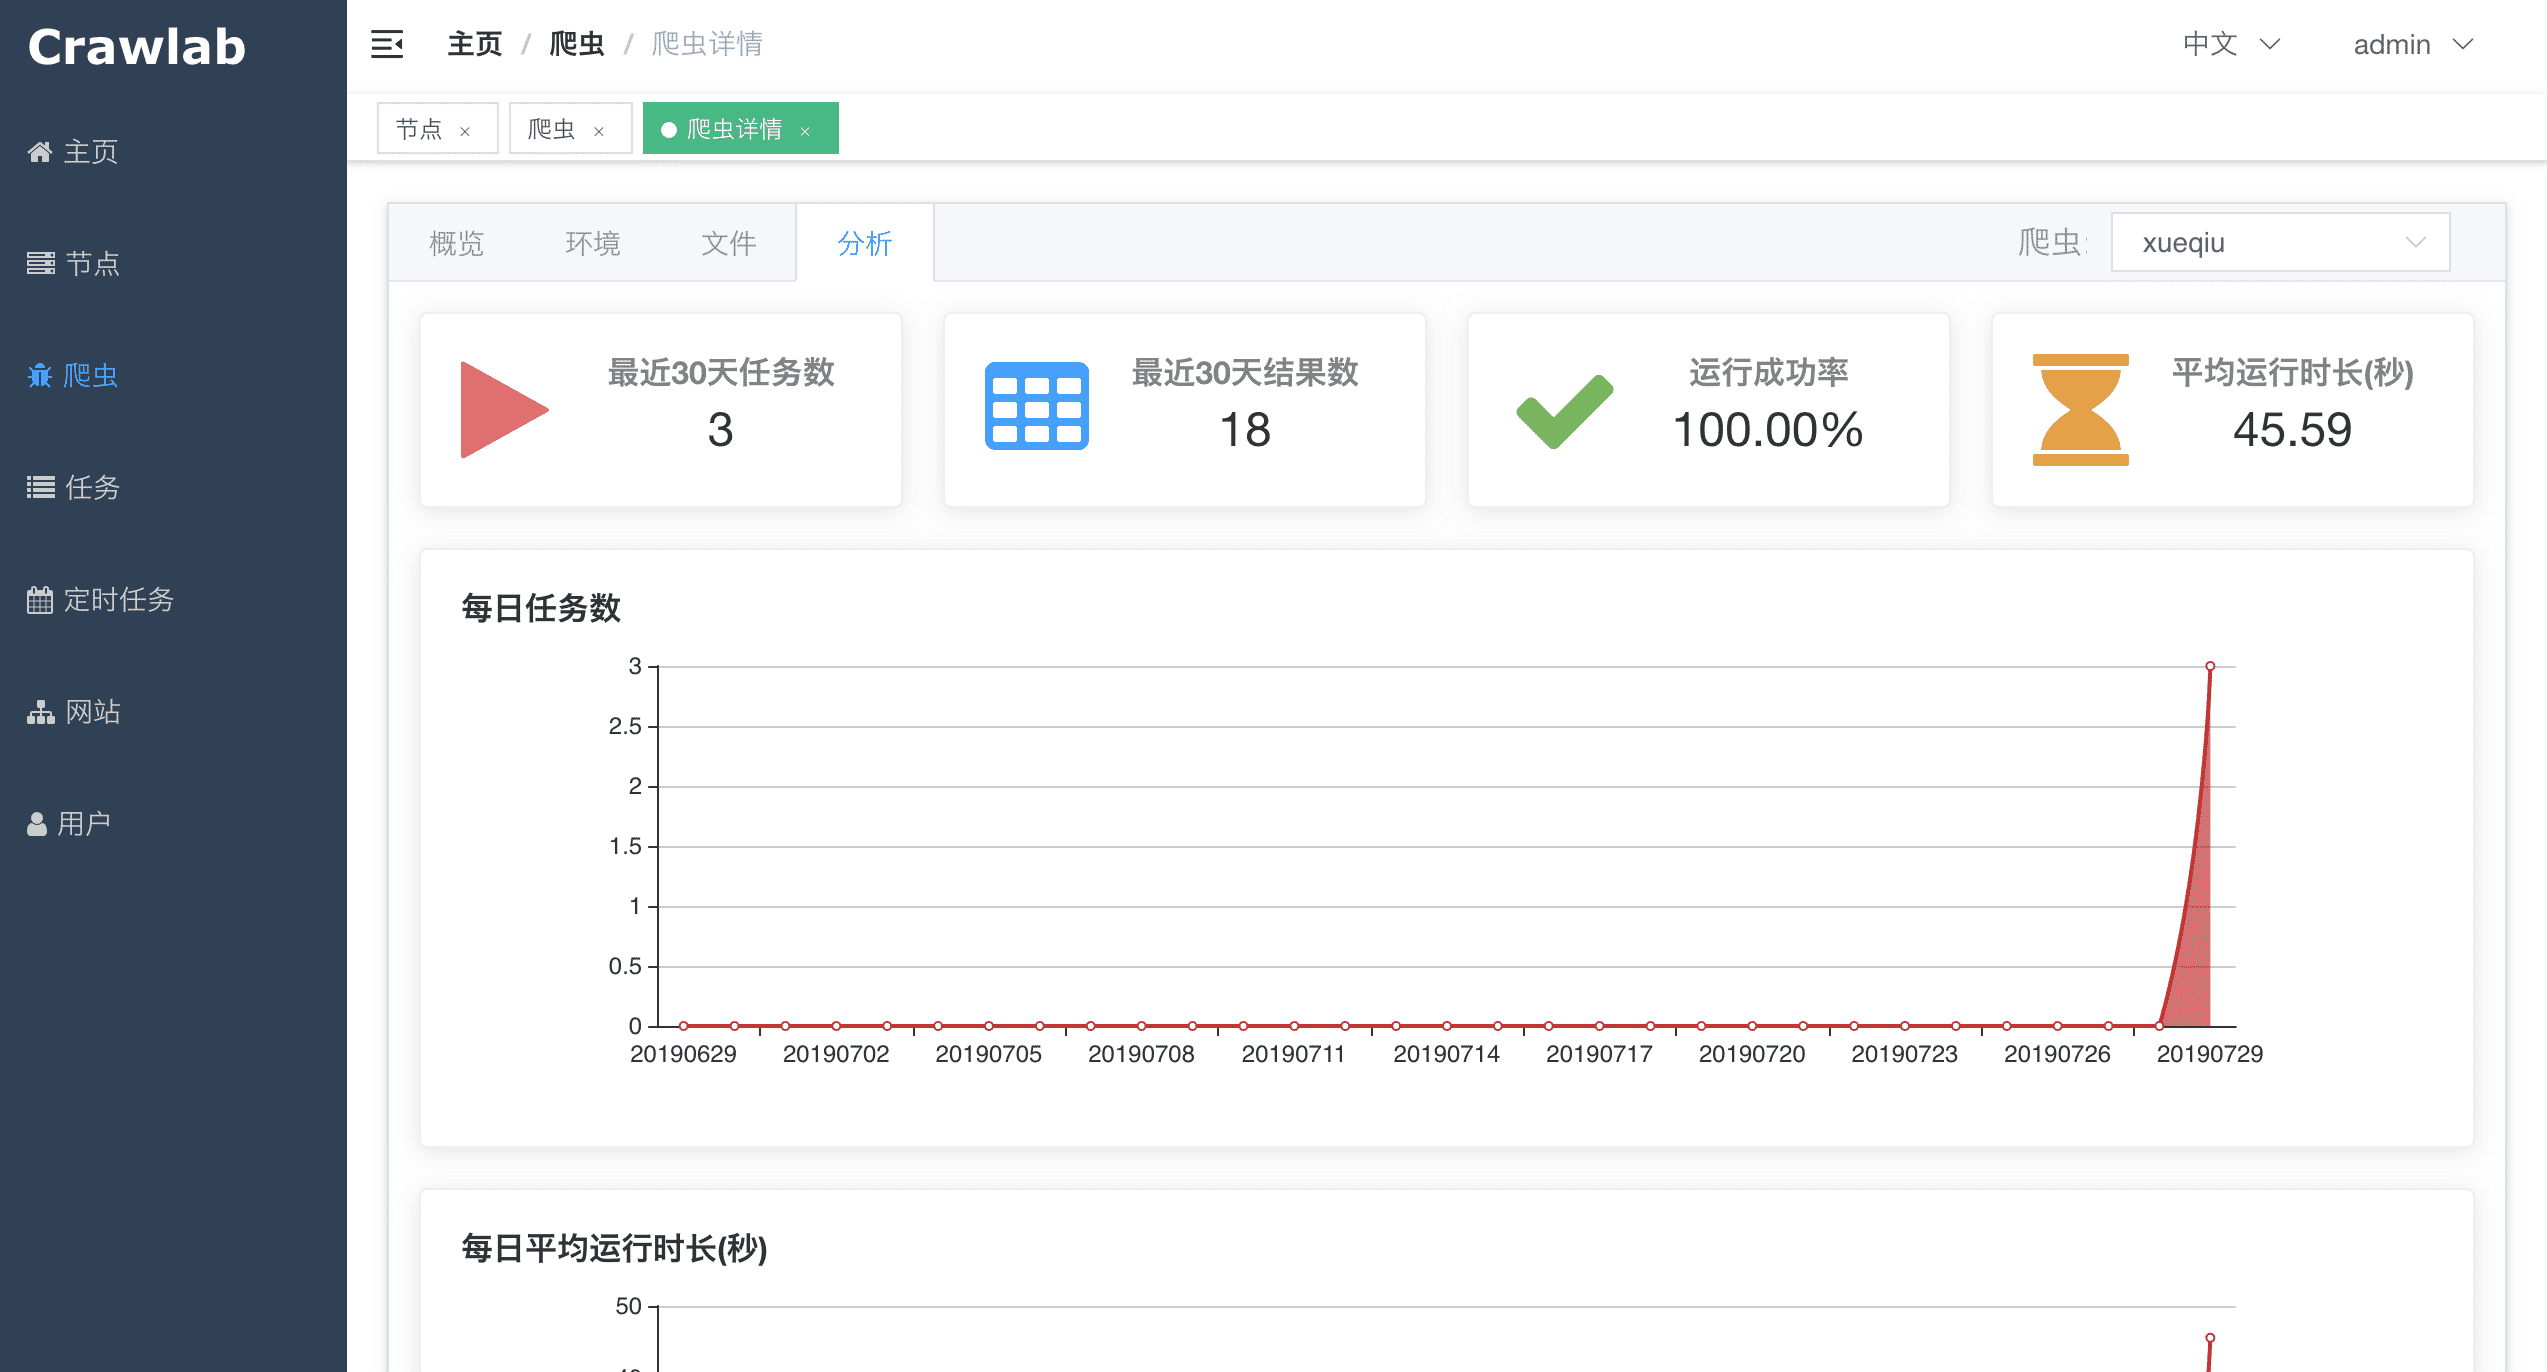
#### 爬虫分析
|
||
|
||
|
||
|
||
#### 爬虫文件编辑
|
||
|
||

|
||
|
||
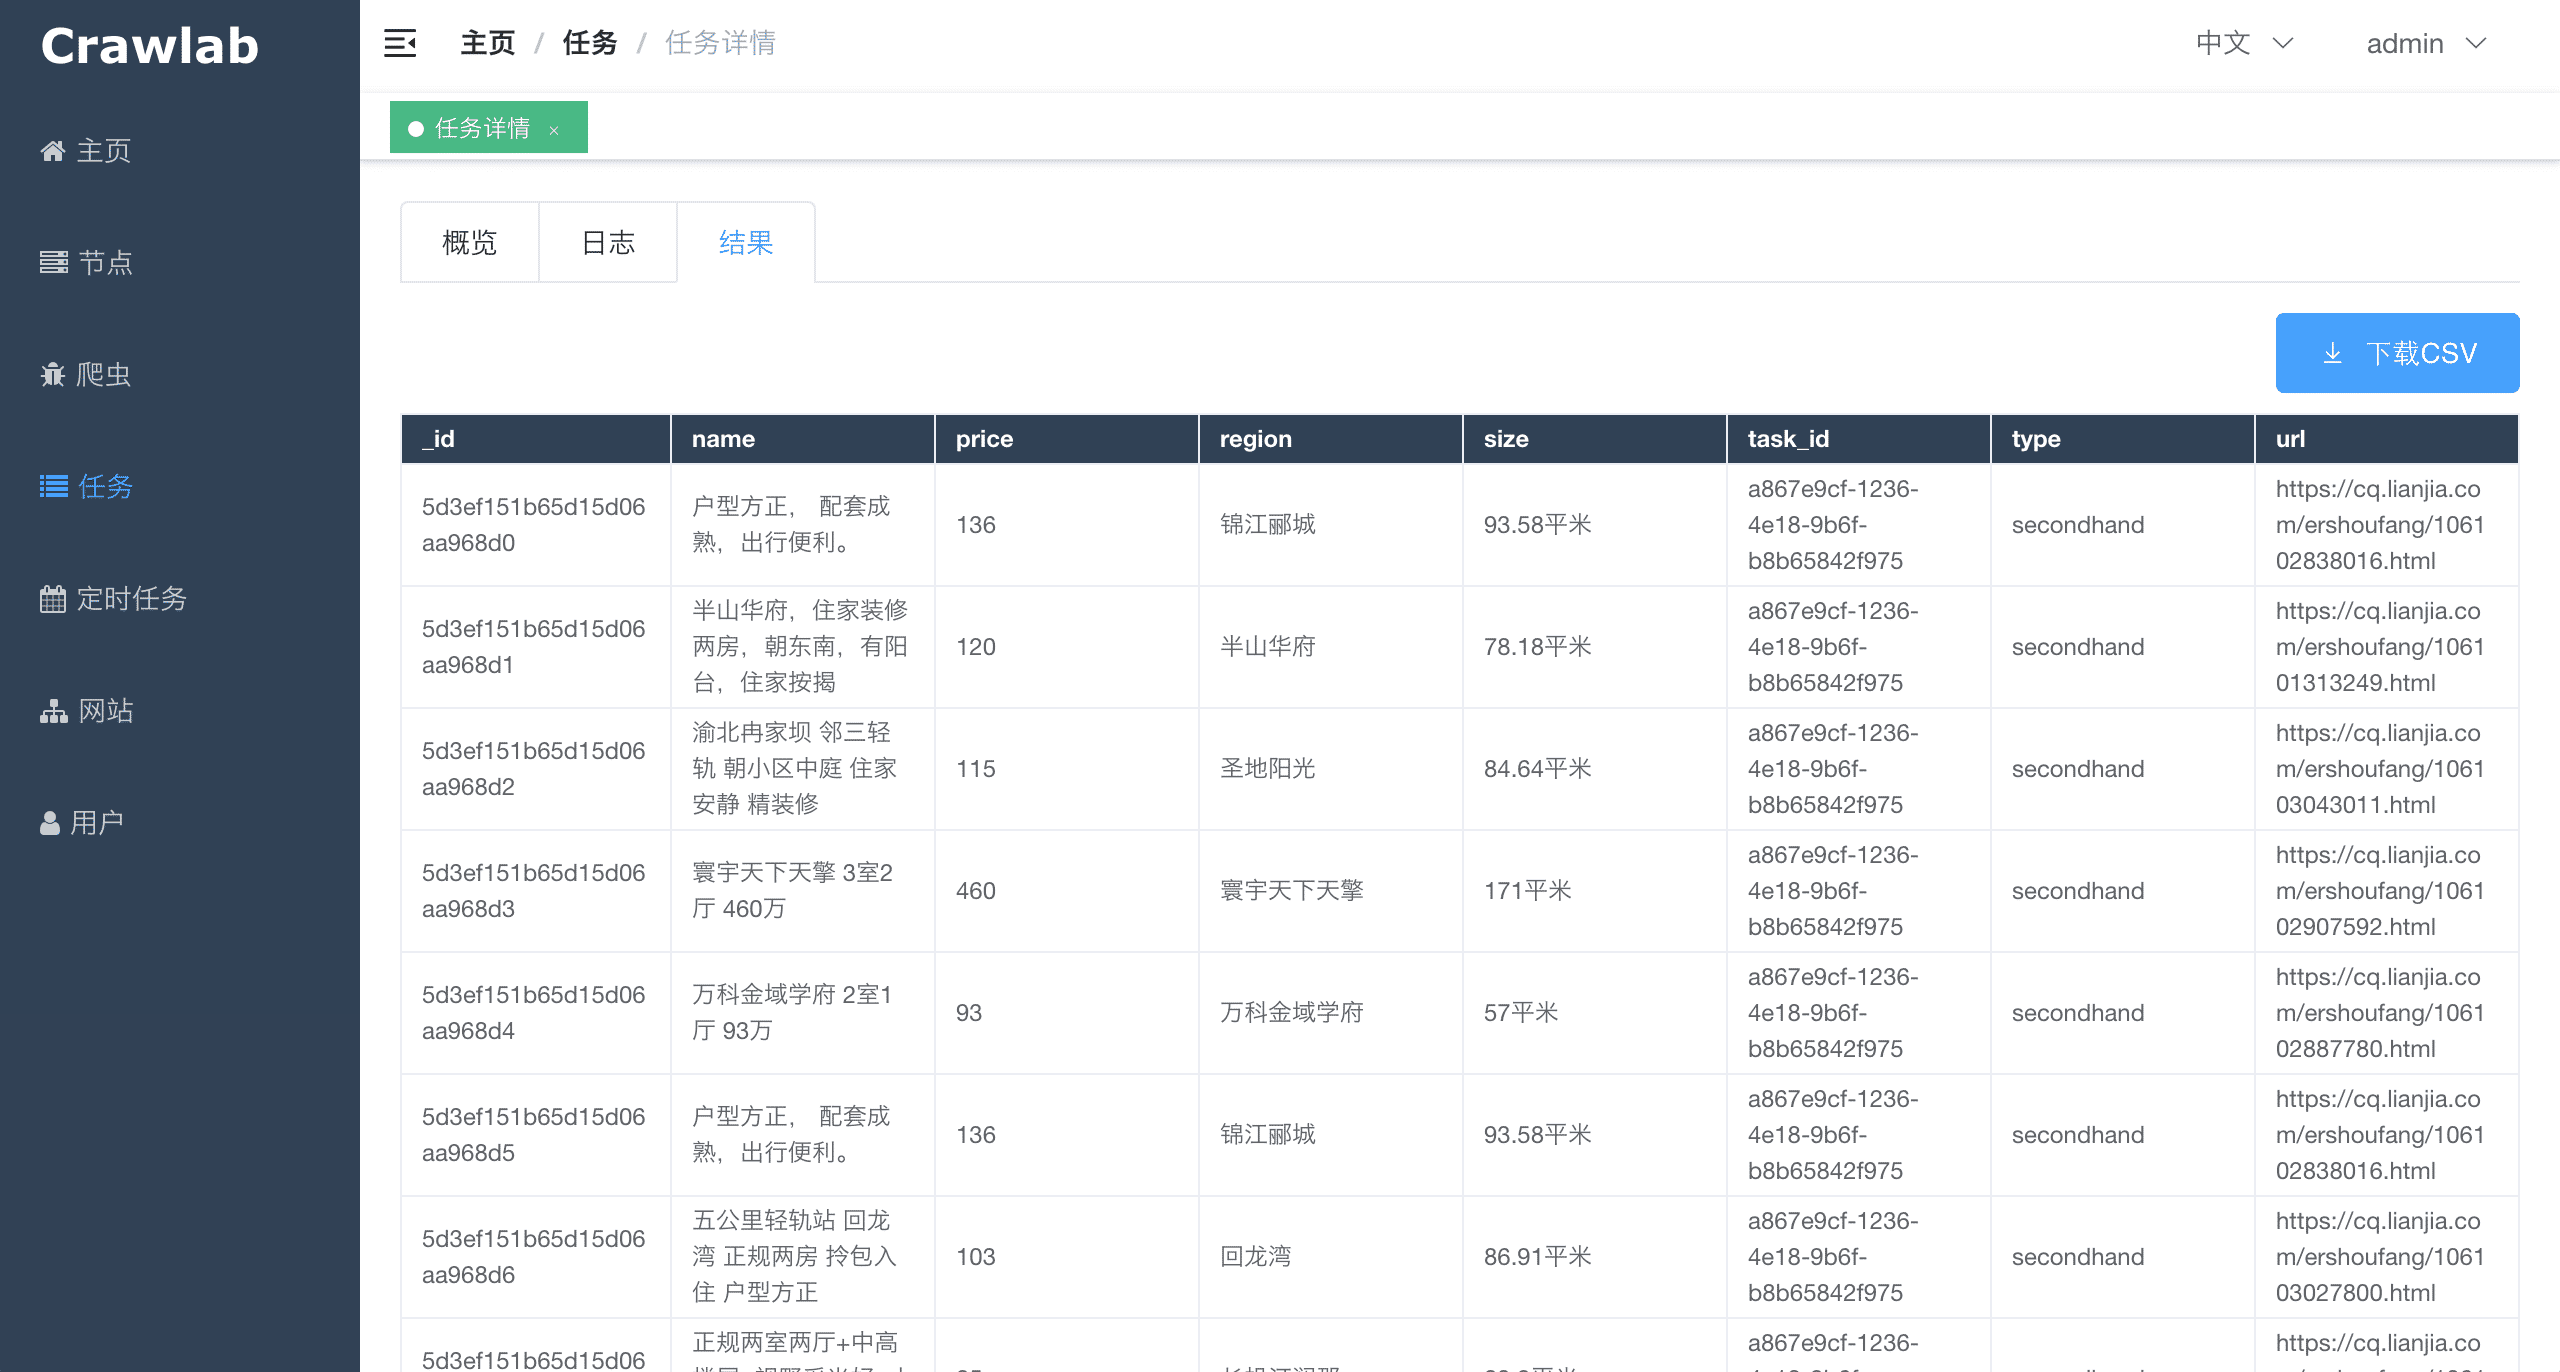
#### 任务抓取结果
|
||
|
||
|
||
|
||
#### 任务日志
|
||
|
||

|
||
|
||
#### 定时任务
|
||
|
||

|
||
|
||
#### 语言安装
|
||
|
||

|
||
|
||
#### 依赖安装
|
||
|
||

|
||
|
||
#### 消息通知
|
||
|
||
<img src="http://static-docs.crawlab.cn/notification-mobile.jpeg" height="480px">
|
||
|
||
## 架构
|
||
|
||
Crawlab的架构包括了一个主节点(Master Node)和多个工作节点(Worker Node),以及负责通信和数据储存的Redis和MongoDB数据库。
|
||
|
||

|
||
|
||
前端应用向主节点请求数据,主节点通过MongoDB和Redis来执行任务派发调度以及部署,工作节点收到任务之后,开始执行爬虫任务,并将任务结果储存到MongoDB。架构相对于`v0.3.0`之前的Celery版本有所精简,去除了不必要的节点监控模块Flower,节点监控主要由Redis完成。
|
||
|
||
### 主节点
|
||
|
||
主节点是整个Crawlab架构的核心,属于Crawlab的中控系统。
|
||
|
||
主节点主要负责以下功能:
|
||
1. 爬虫任务调度
|
||
2. 工作节点管理和通信
|
||
3. 爬虫部署
|
||
4. 前端以及API服务
|
||
5. 执行任务(可以将主节点当成工作节点)
|
||
|
||
主节点负责与前端应用进行通信,并通过Redis将爬虫任务派发给工作节点。同时,主节点会同步(部署)爬虫给工作节点,通过Redis和MongoDB的GridFS。
|
||
|
||
### 工作节点
|
||
|
||
工作节点的主要功能是执行爬虫任务和储存抓取数据与日志,并且通过Redis的`PubSub`跟主节点通信。通过增加工作节点数量,Crawlab可以做到横向扩展,不同的爬虫任务可以分配到不同的节点上执行。
|
||
|
||
### MongoDB
|
||
|
||
MongoDB是Crawlab的运行数据库,储存有节点、爬虫、任务、定时任务等数据,另外GridFS文件储存方式是主节点储存爬虫文件并同步到工作节点的中间媒介。
|
||
|
||
### Redis
|
||
|
||
Redis是非常受欢迎的Key-Value数据库,在Crawlab中主要实现节点间数据通信的功能。例如,节点会将自己信息通过`HSET`储存在Redis的`nodes`哈希列表中,主节点根据哈希列表来判断在线节点。
|
||
|
||
### 前端
|
||
|
||
前端是一个基于[Vue-Element-Admin](https://github.com/PanJiaChen/vue-element-admin)的单页应用。其中重用了很多Element-UI的控件来支持相应的展示。
|
||
|
||
## 与其他框架的集成
|
||
|
||
[Crawlab SDK](https://github.com/crawlab-team/crawlab-sdk) 提供了一些 `helper` 方法来让您的爬虫更好的集成到 Crawlab 中,例如保存结果数据到 Crawlab 中等等。
|
||
|
||
### 集成 Scrapy
|
||
|
||
在 `settings.py` 中找到 `ITEM_PIPELINES`(`dict` 类型的变量),在其中添加如下内容。
|
||
|
||
```python
|
||
ITEM_PIPELINES = {
|
||
'crawlab.pipelines.CrawlabMongoPipeline': 888,
|
||
}
|
||
```
|
||
|
||
然后,启动 Scrapy 爬虫,运行完成之后,您就应该能看到抓取结果出现在 **任务详情-结果** 里。
|
||
|
||
### 通用 Python 爬虫
|
||
|
||
将下列代码加入到您爬虫中的结果保存部分。
|
||
|
||
```python
|
||
# 引入保存结果方法
|
||
from crawlab import save_item
|
||
|
||
# 这是一个结果,需要为 dict 类型
|
||
result = {'name': 'crawlab'}
|
||
|
||
# 调用保存结果方法
|
||
save_item(result)
|
||
```
|
||
|
||
然后,启动爬虫,运行完成之后,您就应该能看到抓取结果出现在 **任务详情-结果** 里。
|
||
|
||
### 其他框架和语言
|
||
|
||
爬虫任务本质上是由一个shell命令来实现的。任务ID将以环境变量`CRAWLAB_TASK_ID`的形式存在于爬虫任务运行的进程中,并以此来关联抓取数据。另外,`CRAWLAB_COLLECTION`是Crawlab传过来的所存放collection的名称。
|
||
|
||
在爬虫程序中,需要将`CRAWLAB_TASK_ID`的值以`task_id`作为可以存入数据库中`CRAWLAB_COLLECTION`的collection中。这样Crawlab就知道如何将爬虫任务与抓取数据关联起来了。当前,Crawlab只支持MongoDB。
|
||
|
||
## 与其他框架比较
|
||
|
||
现在已经有一些爬虫管理框架了,因此为啥还要用Crawlab?
|
||
|
||
因为很多现有当平台都依赖于Scrapyd,限制了爬虫的编程语言以及框架,爬虫工程师只能用scrapy和python。当然,scrapy是非常优秀的爬虫框架,但是它不能做一切事情。
|
||
|
||
Crawlab使用起来很方便,也很通用,可以适用于几乎任何主流语言和框架。它还有一个精美的前端界面,让用户可以方便的管理和运行爬虫。
|
||
|
||
|框架 | 技术 | 优点 | 缺点 | Github 统计数据 |
|
||
|:---|:---|:---|-----| :---- |
|
||
| [Crawlab](https://github.com/crawlab-team/crawlab) | Golang + Vue|不局限于 scrapy,可以运行任何语言和框架的爬虫,精美的 UI 界面,天然支持分布式爬虫,支持节点管理、爬虫管理、任务管理、定时任务、结果导出、数据统计、消息通知、可配置爬虫、在线编辑代码等功能|暂时不支持爬虫版本管理|   |
|
||
| [ScrapydWeb](https://github.com/my8100/scrapydweb) | Python Flask + Vue|精美的 UI 界面,内置了 scrapy 日志解析器,有较多任务运行统计图表,支持节点管理、定时任务、邮件提醒、移动界面,算是 scrapy-based 中功能完善的爬虫管理平台|不支持 scrapy 以外的爬虫,Python Flask 为后端,性能上有一定局限性|   |
|
||
| [Gerapy](https://github.com/Gerapy/Gerapy) | Python Django + Vue|Gerapy 是崔庆才大神开发的爬虫管理平台,安装部署非常简单,同样基于 scrapyd,有精美的 UI 界面,支持节点管理、代码编辑、可配置规则等功能|同样不支持 scrapy 以外的爬虫,而且据使用者反馈,1.0 版本有很多 bug,期待 2.0 版本会有一定程度的改进|   |
|
||
| [SpiderKeeper](https://github.com/DormyMo/SpiderKeeper) | Python Flask|基于 scrapyd,开源版 Scrapyhub,非常简洁的 UI 界面,支持定时任务|可能有些过于简洁了,不支持分页,不支持节点管理,不支持 scrapy 以外的爬虫|   |
|
||
|
||
## Q&A
|
||
|
||
#### 1. 为何我访问 http://localhost:8080 提示访问不了?
|
||
|
||
假如您是Docker部署的,请检查一下您是否用了Docker Machine,这样的话您需要输入地址 http://192.168.99.100:8080 才行。
|
||
|
||
另外,请确保您用了`-p 8080:8080`来映射端口,并检查宿主机是否开放了8080端口。
|
||
|
||
#### 2. 我可以看到登录页面了,但为何我点击登陆的时候按钮一直转圈圈?
|
||
|
||
绝大多数情况下,您可能是没有正确配置`CRAWLAB_API_ADDRESS`这个环境变量。这个变量是告诉前端应该通过哪个地址来请求API数据的,因此需要将它设置为宿主机的IP地址+端口,例如 `192.168.0.1:8000`。接着,重启容器,在浏览器中输入宿主机IP+端口,就可以顺利登陆了。
|
||
|
||
请注意,8080是前端端口,8000是后端端口,您在浏览器中只需要输入前端的地址就可以了,要注意区分。
|
||
|
||
#### 3. 在爬虫页面有一些不认识的爬虫列表,这些是什么呢?
|
||
|
||
这些是demo爬虫,如果需要添加您自己的爬虫,请将您的爬虫文件打包成zip文件,再在爬虫页面中点击**添加爬虫**上传就可以了。
|
||
|
||
注意,Crawlab将取文件名作为爬虫名称,这个您可以后期更改。另外,请不要将zip文件名设置为中文,可能会导致上传不成功。
|
||
|
||
## 相关文章
|
||
|
||
- [爬虫管理平台Crawlab v0.3.0发布(Golang版本)](https://juejin.im/post/5d418deff265da03c926d75c)
|
||
- [爬虫平台Crawlab核心原理--分布式架构](https://juejin.im/post/5d4ba9d1e51d4561cf15df79)
|
||
- [爬虫平台Crawlab核心原理--自动提取字段算法](https://juejin.im/post/5cf4a7fa5188254c5879facd)
|
||
- [爬虫管理平台Crawlab部署指南(Docker and more)](https://juejin.im/post/5d01027a518825142939320f)
|
||
- [[爬虫手记] 我是如何在3分钟内开发完一个爬虫的](https://juejin.im/post/5ceb4342f265da1bc8540660)
|
||
- [手把手教你如何用Crawlab构建技术文章聚合平台(二)](https://juejin.im/post/5c92365d6fb9a070c5510e71)
|
||
- [手把手教你如何用Crawlab构建技术文章聚合平台(一)](https://juejin.im/user/5a1ba6def265da430b7af463/posts)
|
||
|
||
**注意: v0.3.0版本已将基于Celery的Python版本切换为了Golang版本,如何部署请参照文档**
|
||
|
||
## 贡献者
|
||
<a href="https://github.com/tikazyq">
|
||
<img src="https://avatars3.githubusercontent.com/u/3393101?s=460&v=4" height="80">
|
||
</a>
|
||
<a href="https://github.com/wo10378931">
|
||
<img src="https://avatars2.githubusercontent.com/u/8297691?s=460&v=4" height="80">
|
||
</a>
|
||
<a href="https://github.com/yaziming">
|
||
<img src="https://avatars2.githubusercontent.com/u/54052849?s=460&v=4" height="80">
|
||
</a>
|
||
<a href="https://github.com/hantmac">
|
||
<img src="https://avatars2.githubusercontent.com/u/7600925?s=460&v=4" height="80">
|
||
</a>
|
||
<a href="https://github.com/duanbin0414">
|
||
<img src="https://avatars3.githubusercontent.com/u/50389867?s=460&v=4" height="80">
|
||
</a>
|
||
<a href="https://github.com/zkqiang">
|
||
<img src="https://avatars3.githubusercontent.com/u/32983588?s=460&u=83082ddc0a3020279374b94cce70f1aebb220b3d&v=4" height="80">
|
||
</a>
|
||
|
||
## 社区 & 赞助
|
||
|
||
如果您觉得Crawlab对您的日常开发或公司有帮助,请加作者微信 tikazyq1 并注明"Crawlab",作者会将你拉入群。或者,您可以扫下方支付宝二维码给作者打赏去升级团队协作软件或买一杯咖啡。
|
||
|
||
<p align="center">
|
||
<img src="https://crawlab.oss-cn-hangzhou.aliyuncs.com/gitbook/qrcode.png" height="360">
|
||
<img src="https://crawlab.oss-cn-hangzhou.aliyuncs.com/gitbook/payment.jpg" height="360">
|
||
</p>
|